背景
之前写了一篇文章,分享了如何使用 kt-connect 来加速云原生的开发,但是在实际使用中发现一些问题,比如:
- 环境不一致,每个开发人员都需要安装和调试程序一致的运行环境,比如 golang 的命令行工具、python 的依赖库等
- 需要依赖 k8s 集群的资源,虽然 connect 模式打通后可以访问,但实测不稳定且速度慢
后面又看到了 nocalhost,一款开源的基于 IDE 的云原生应用开发工具,相比 kt-connect 具有以下优势:
- 在 k8s 集群内部构建、测试和调试应用程序,因此可使用基本一致的镜像
- 运行在 k8s 集群内部,访问资源更稳定、更快速
- 更改代码后实时同步到远端容器,无需重建镜像或重新启动容器
为了开发环境和线上环境更一致,后续决定使用 nocalhost 来进行本地开发调试。考虑到需要在公司内部推广使用,打算制作一个基于 code-server 和 nocalhost 制作的 web 调试镜像,实现以下功能:
- 本地 docker run 启动镜像后,即可打开浏览器进行代码编辑和调试
- 基于不同编程语言,制作不同的调试镜像(工作中主要是 golang 和 python)
增加 kubectl 命令
开发镜像是为了调试 k8s 集群中的服务,需要连接到 k8s 集群,因此需要安装 kubectl,参考 官网安装方式,增加以下 dockerfile 内容:
1
2
3
4
5
6
7
8
|
FROM codercom/code-server:latest
# install kubectl
RUN sudo apt-get update
RUN sudo apt-get install -y ca-certificates curl
RUN sudo curl -fsSLo /usr/share/keyrings/kubernetes-archive-keyring.gpg <https://packages.cloud.google.com/apt/doc/apt-key.gpg>
RUN echo "deb [signed-by=/usr/share/keyrings/kubernetes-archive-keyring.gpg] <https://apt.kubernetes.io/> kubernetes-xenial main" | sudo tee /etc/apt/sources.list.d/kubernetes.list
RUN sudo apt-get update
RUN sudo apt-get install -y kubectl
|
在编写时,可以先 run 一个 code-server 容器来测试:
1
|
docker run -it --rm --entrypoint /bin/bash codercom/code-server:latest
|
验证好了后,执行 build 来构建测试:
1
|
docker build . --tag "local-dev:v0.0.1"
|
增加 ssh 配置和 k8s 配置
参考 code-server 官网 docker 启动方式,并增加本地的。ssh 文件夹,用于拉取公司私有仓库代码,增加。kube 文件夹,用于连接和操作开发环境的 k8s 服务,因此为:
1
2
3
4
5
6
7
8
9
|
docker run -it --rm --name code-server \
  -p 127.0.0.1:8080:8080 \
  -v "$HOME/.config:/home/coder/.config" \
  -v "$HOME/.ssh:/home/coder/.ssh" \
  -v "$HOME/.kube:/home/coder/.kube" \
  -v "$PWD:/home/coder/project" \
  -u "$(id -u):$(id -g)" \
  -e "DOCKER_USER=$USER" \
  local-dev:v0.0.1
|
执行成功后,访问 http://127.0.0.1:8080 即可打开 code-server web 页面。
预安装 nocalhost 插件
使用上面的方式启动后,需要手动去扩展栏安装 nocalhost,为了方面,考虑能不能用命令行方式提前安装好呢。
答案是肯定的,参考这个 issue 里面的评论,看起来是可行的,进行验证后,做了两个小的调整:
- bsdtar 改为 libarchive-tools(包调整)
- curl 改为 wget(curl 测试有点问题)
最终预安装 nocalhost 插件的 dockerfile 内容为:
1
2
3
4
5
6
7
|
# install nocalhost extension
RUN sudo apt-get update && sudo apt install -y libarchive-tools wget
RUN mkdir -p /home/coder/.local/share/code-server/extensions
RUN wget -v https://marketplace.visualstudio.com/_apis/public/gallery/publishers/nocalhost/vsextensions/nocalhost/0.6.18/vspackage
RUN bsdtar -xvf vspackage extension
RUN mv extension /home/coder/.local/share/code-server/extensions/nocalhost.nocalhost-0.6.18
RUN rm -f vspackage
|
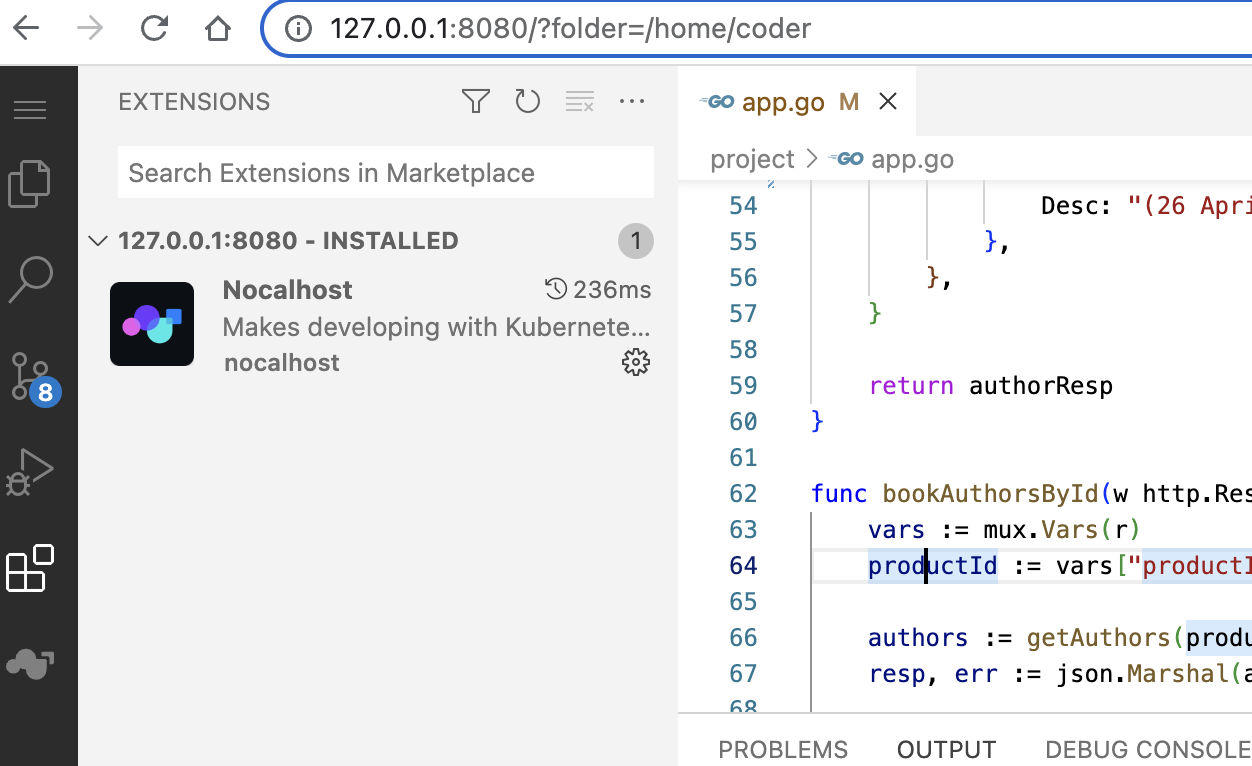
重新 build 后启动,可以看到 nocalhost 默认已安装:

在 nocalhost 里面连接集群后:

镜像增加 golang 开发环境
开发镜像是用 code-server 镜像作为基础镜像,没有安装 golang,需要在 dockerfile 增加:
1
2
3
4
5
6
7
|
# install golang
RUN wget https://go.dev/dl/go1.19.linux-arm64.tar.gz
RUN sudo rm -rf /usr/local/go && sudo tar -C /usr/local -xzf go1.19.linux-arm64.tar.gz
RUN rm -f go1.19.linux-arm64.tar.gz
ENV GOPROXY=https://goproxy.cn,direct
RUN sudo echo "export PATH=$PATH:/usr/local/go/bin" | sudo tee -a /etc/profile
RUN sudo echo "export PATH=$PATH:$HOME/go/bin" | sudo tee -a /etc/profile
|
安装 golang dlv:
1
2
|
# install dlv
RUN /usr/local/go/bin/go install github.com/go-delve/delve/cmd/dlv@latest
|
加载 vscode go 插件:
1
2
3
4
5
|
# install golang extension
RUN wget -v https://marketplace.visualstudio.com/_apis/public/gallery/publishers/golang/vsextensions/go/0.35.2/vspackage
RUN bsdtar -xvf vspackage extension
RUN mv extension /home/coder/.local/share/code-server/extensions/golang.go-0.35.2
RUN rm -f vspackage
|
开发镜像访问集群中服务
集群中服务需要暴露对外端口,这里用 nocalhost 提供的 bookinfo 的 author 模块来测试,需要将 productpage svc 修改为 node 类型,暴露对外端口:
1
2
3
4
5
6
7
|
  ports:
  - name: http
    nodePort: 32428
    port: 9080
    protocol: TCP
    targetPort: 9080
  type: NodePort
|
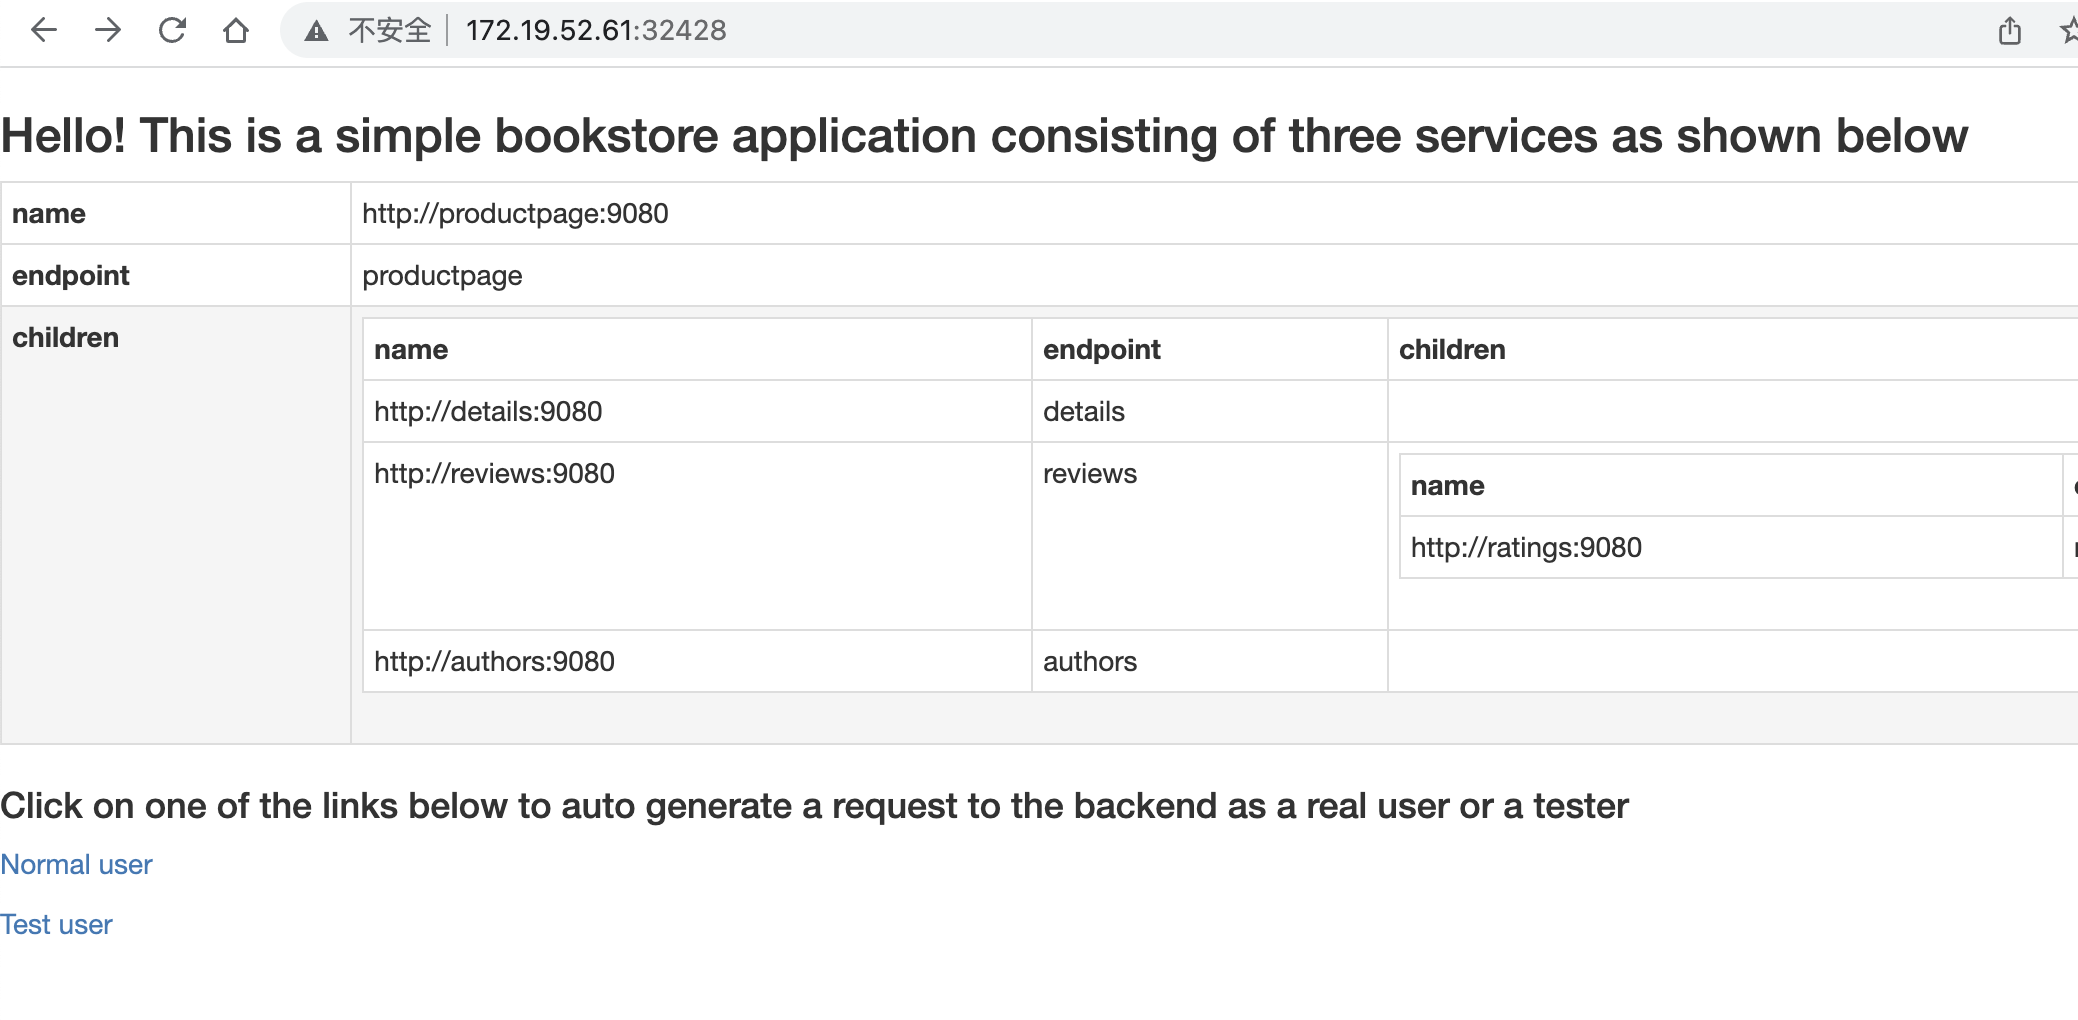
在浏览器中开启调试模式后,启动服务 sh run.sh 后,访问地址:http://172.19.52.61:32428/ 。
其中 172.19.52.61 为 node 的 ip 地址,即可在页面上点击测试。
开发镜像测试启动服务
在 author 模块 app.go 文件中,修改其中的 getAuthors 函数: 将其中的 Name 字段改为“aa William Shakespeare”,然后执行 sh run.sh:

启动之后访问 http://172.19.52.61:32428/:

点击 normal user 后可以看到效果:

开发镜像测试调试服务【待解决】
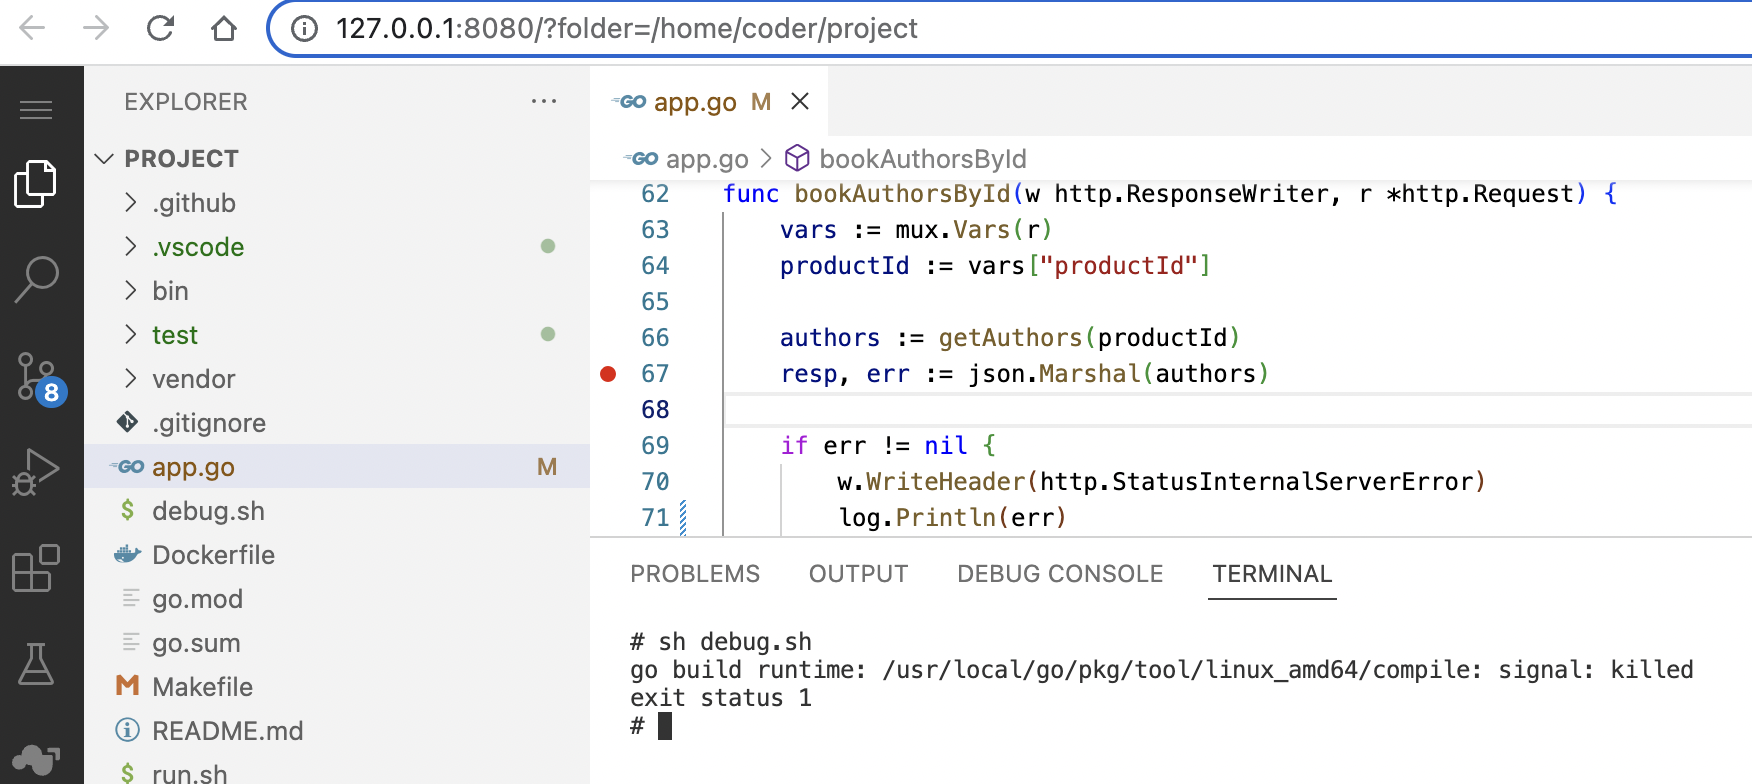
在 author 模块 app.go 文件,bookAuthorsById 函数中增加断点,执行 sh debug.sh 发现会出现问题:

参考


